ProPresenter Integration
For teams routing captions through ProPresenter 7 Props.
Keep overlays in a reusable Prop so captions ride above every slide. Buttons and labels mirror the ProPresenter 7 Props tray below—adapt wording if your build updates its UI polish.
If you have not copied your on-site caption link yet, start with the On-Site Captions overview.
1. Props library → Add Prop
Click the Props icon (three stacked rectangles) along the narrow media toolbar near the Libraries column, choose a collection (Default Collection unless you segregate overlays), then press the large centered + · Add Prop chip to instantiate a transparent shell.
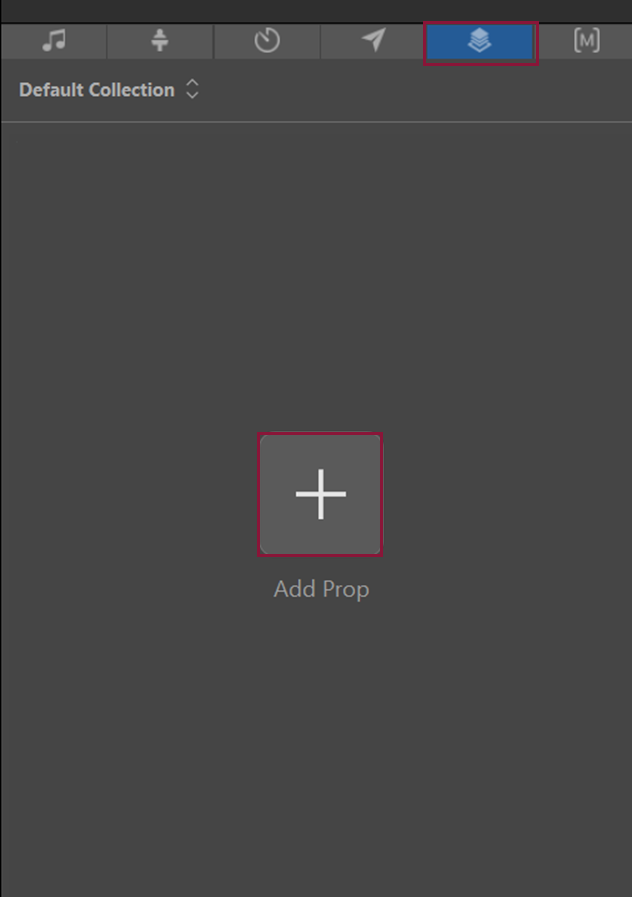
Screenshot: Props tab active (blue toolbar icon) · tap the oversized + control to mint a blank prop thumbnail.
2. Edit the prop
With the translucent checkerboard thumbnail selected, tap the pencil (Edit) to launch the Prop editor canvas + Inspector pairing.
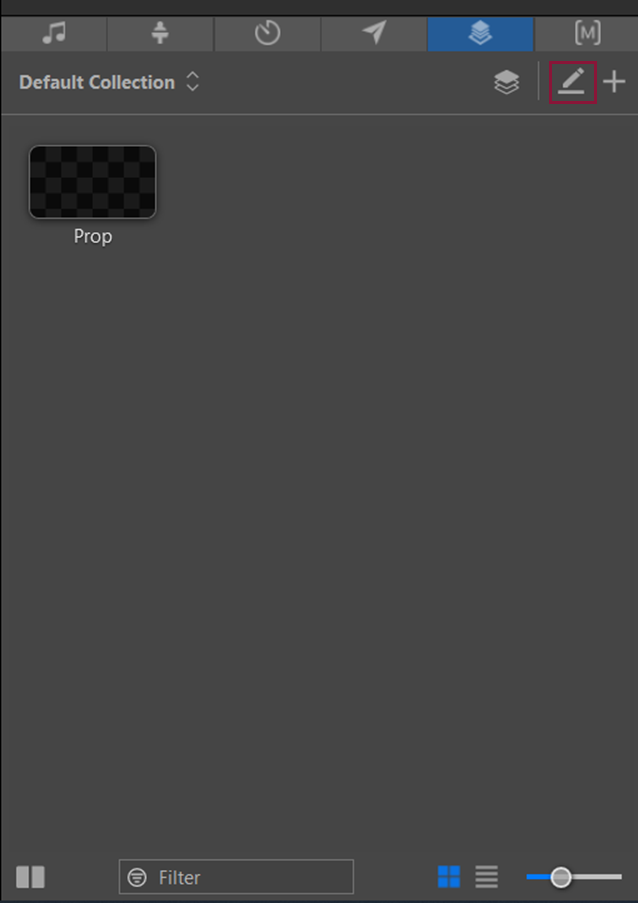
Screenshot: tiny checkerboard thumbnail = empty prop awaiting layout; pencil opens the authoring surface.
3. Insert a Web object
Name the Prop in its Inspector pane for recall (examples: LiveTranslator / OmniWord). On the inset toolbar above the canvas, tap the globe icon (Web Object) to insert a webpage layer into the Prop.
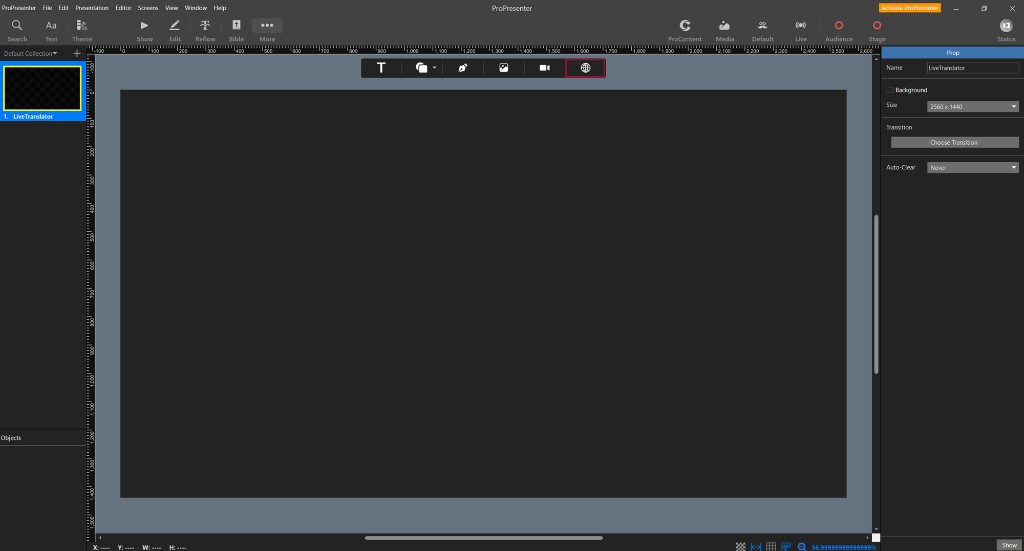
Screenshot: globe injects the HTML layer—you'll position it in the caption area next.
4. Place it in your caption area
You don't need to stretch the web object across the whole canvas. Drag the white handles so the box covers only where you want subtitles—often a lower-third strip at the bottom of the slide. Captions anchor to the bottom of that box, so sizing the region is enough.
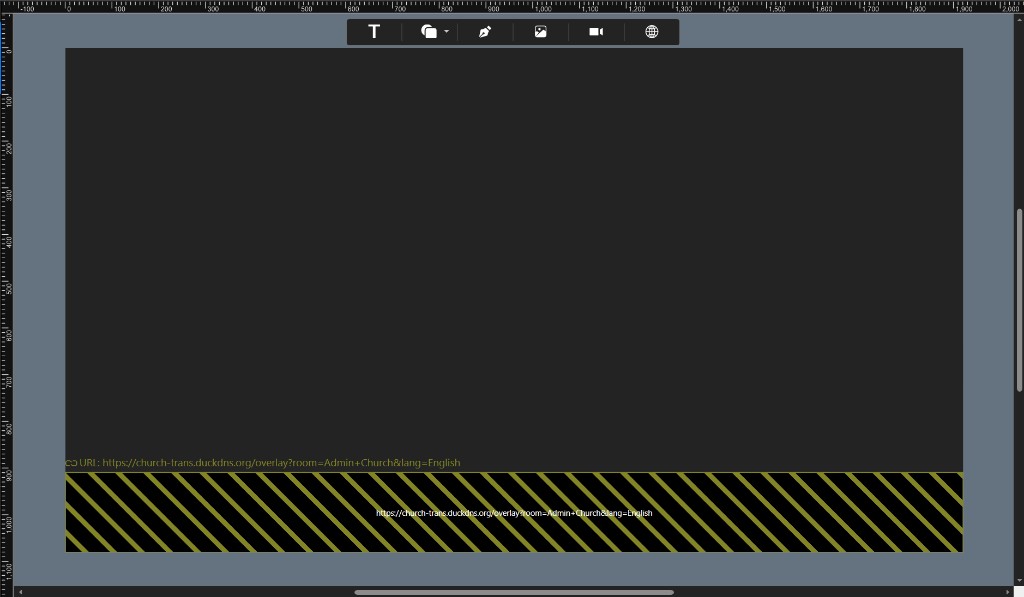
Screenshot: position the web object only where captions should appear; subtitles align to the bottom of that region.
5. Paste URL + tune Fill ▸ Web
Leave the Web object selected inside the Objects list (Web highlighted). Inspector → Shape ▸ Fill ▸ Web → paste the HTTPS link you copied from Live (you can paste before or after resizing—the bounding box controls where pixels land on air).
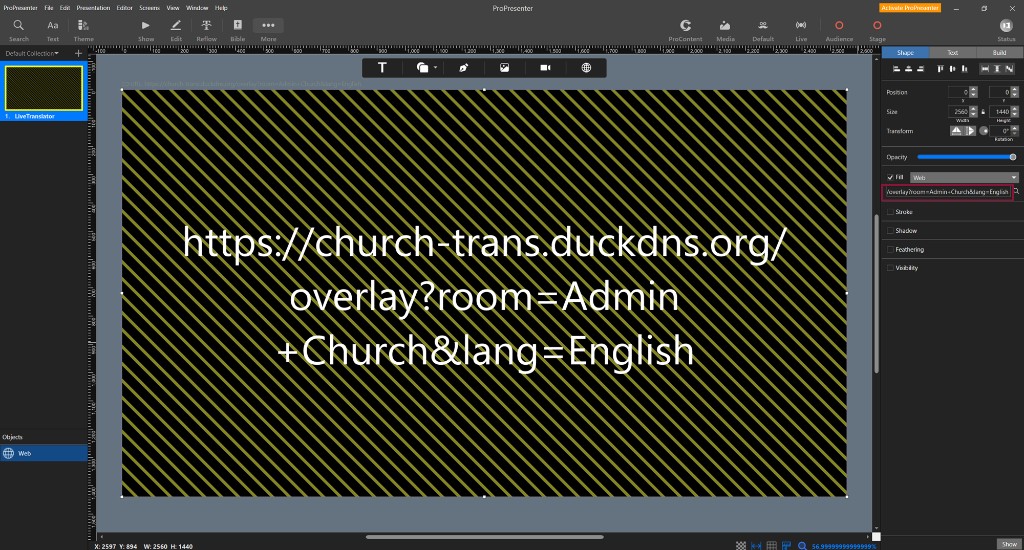
Screenshot: Fill enables Web subtype; OmniWord URLs often show only the trailing /overlay parameters after ProPresenter trims the hostname—overwrite with the clipboard copy if PP leaves the field truncated.
6. Second on-screen language (Pro and above)
Pro plans and above can show two overlay languages at once—for example English in a lower-third and Japanese at the top. On Live, select both on-site caption languages and copy each link separately. In ProPresenter, add a second web object in another region of the Prop; the lang= parameter in each URL selects which language appears there.
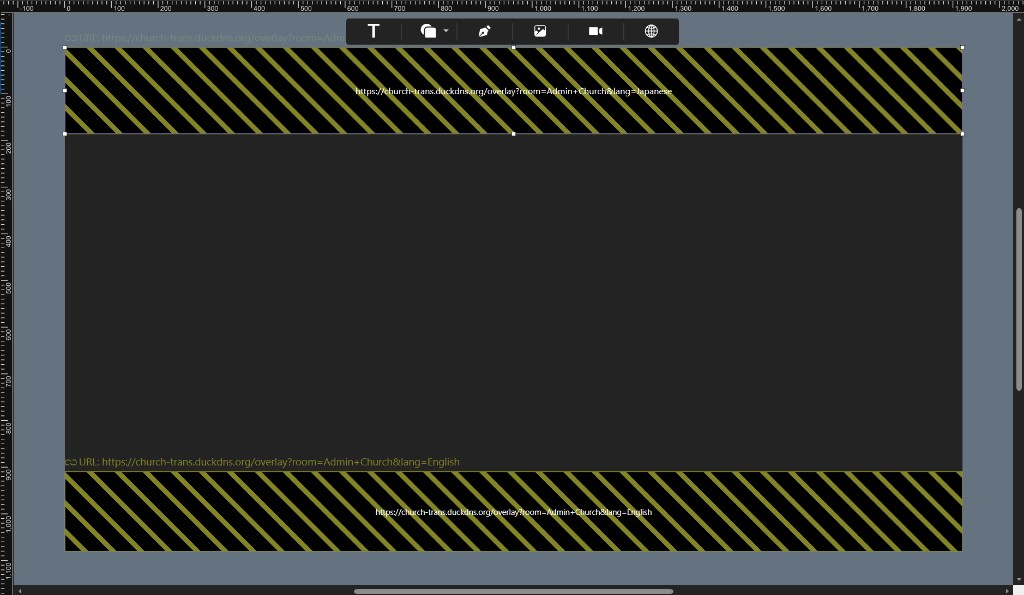
Screenshot: two web objects in one Prop, each sized to its caption region and filled with a different lang= overlay link from Live.
Sunday morning
Enable or clear this Prop alongside other broadcast layers so translators stay synced without editing each worship slide individually.